
DIY: Installing Your Own Marble Countertops Safely and Effectively


Getting Started with Marble Countertops
Marble countertops are a timeless addition to any kitchen or bathroom, offering elegance and durability. Installing them yourself can be a rewarding project, saving you money and giving you a sense of accomplishment. Follow this guide to ensure a safe and effective installation process.

Gathering the Right Tools and Materials
Before you begin, make sure you have all the necessary tools and materials. You will need a tape measure, level, circular saw with a diamond blade, adhesive, safety gear, and of course, your marble slab. It's crucial to have everything on hand to avoid interruptions during the installation.
Safety first: Always wear goggles, gloves, and a mask when cutting marble to protect yourself from dust and sharp edges.
Preparing Your Workspace
Clear your workspace and remove any old countertops. Ensure the cabinets or base are level and sturdy enough to support the weight of the marble. Use a level to check for any uneven areas and make adjustments as needed to create a flat surface for the installation.
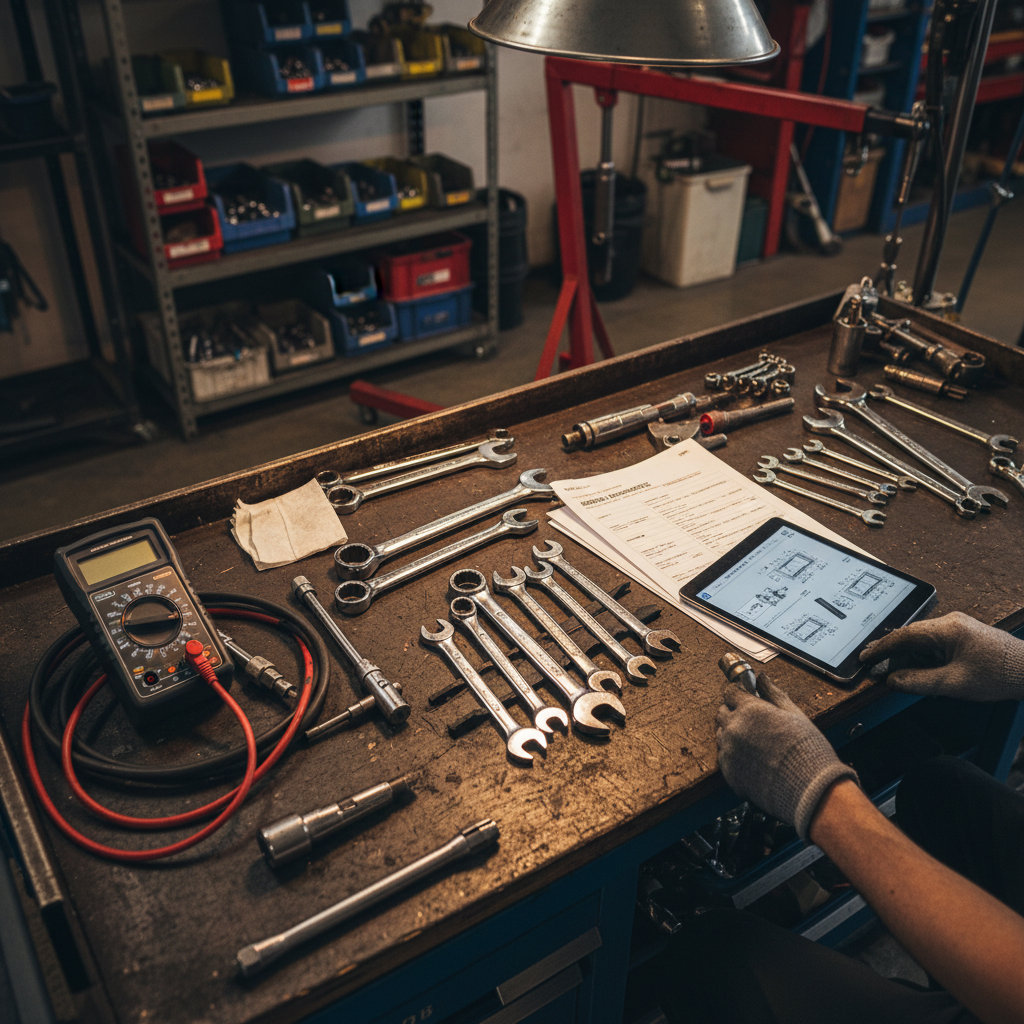
Consider reinforcing your cabinets if necessary, as marble is heavy and requires a solid foundation. This will prevent any potential cracking or shifting over time.
Measuring and Cutting the Marble
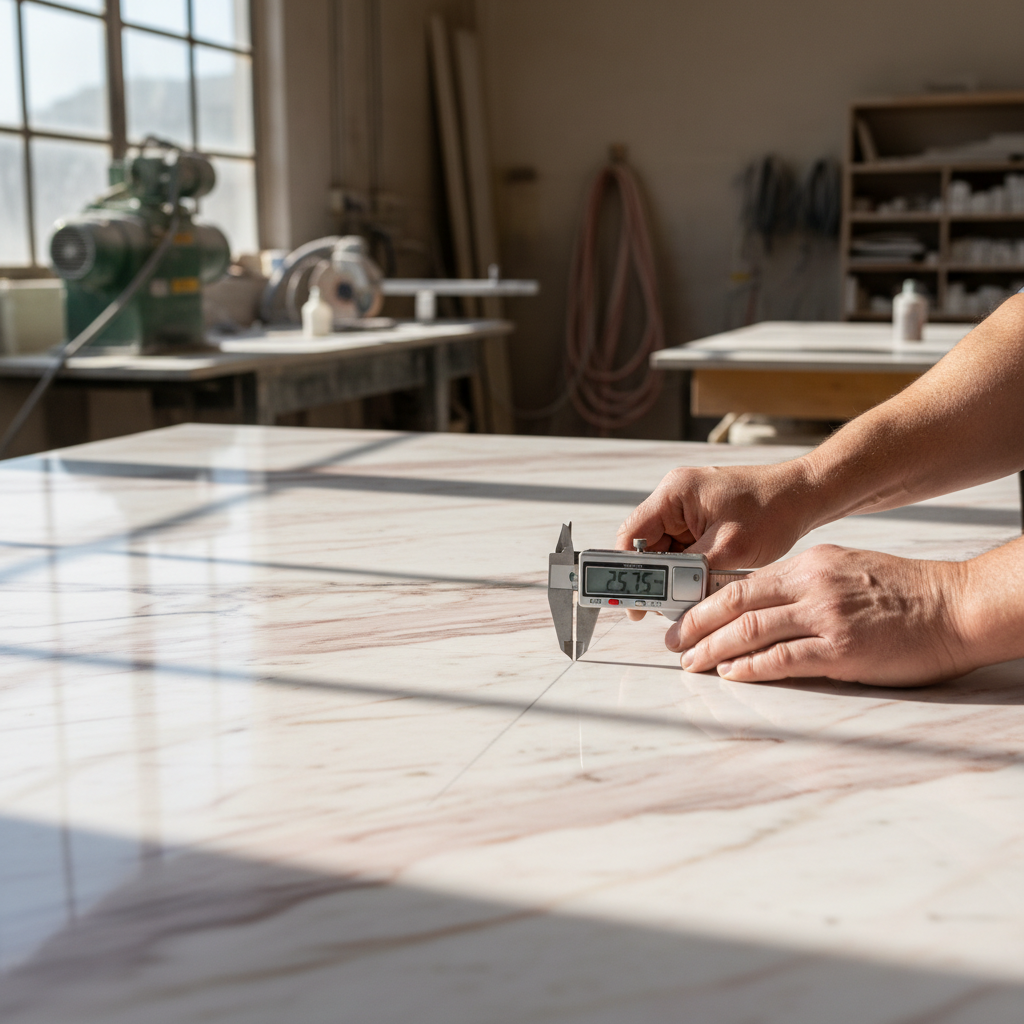
Accurate measurements are crucial for a seamless fit. Measure the dimensions of your countertop space carefully and mark them on the marble slab. Use a circular saw with a diamond blade for precision cutting. Take your time and ensure each cut is clean and straight.
Remember, it's better to cut slightly larger and trim down if needed than to cut too small and have gaps.
Installing the Marble Countertop
Once the marble is cut to size, apply adhesive to the top of the cabinets. Carefully place the marble slab on top, ensuring it aligns with the edges. Press down firmly to secure it in place. Use a level to double-check that the countertop is even.
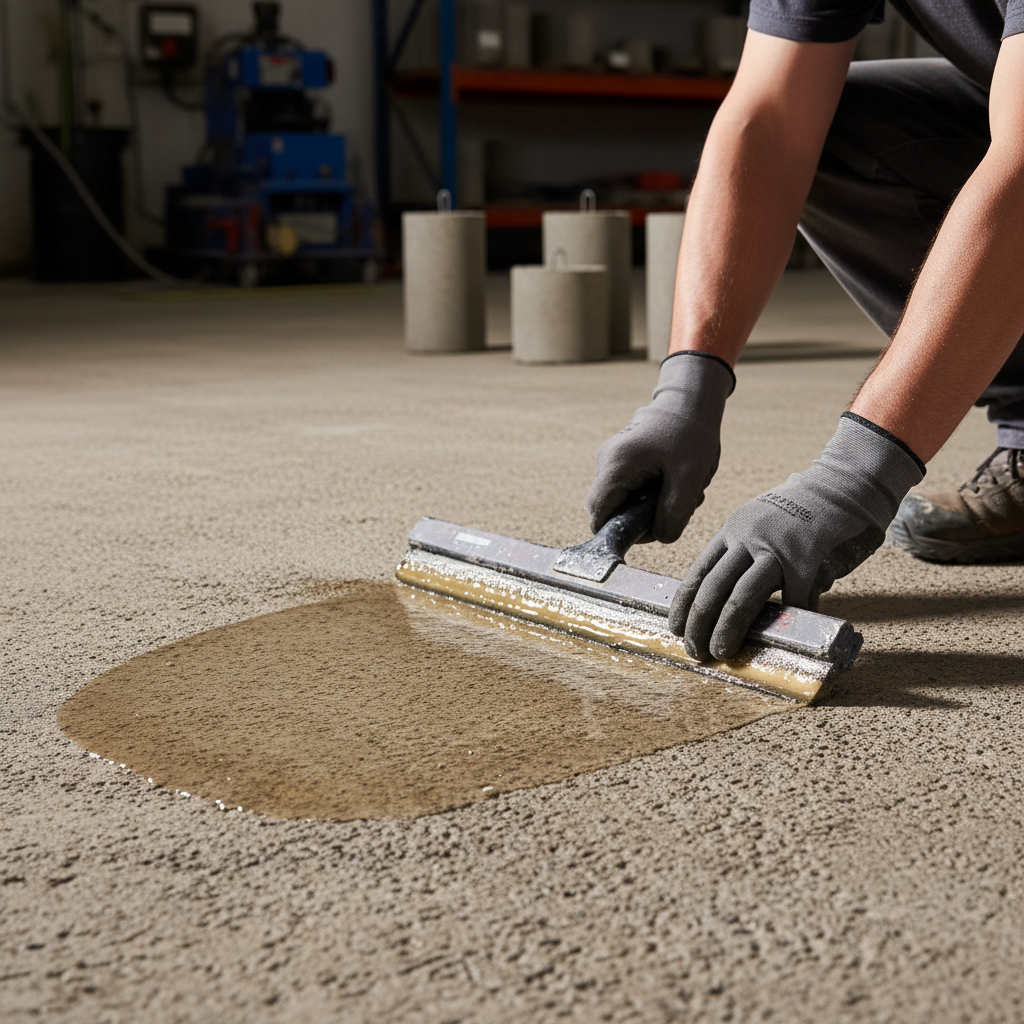
If your countertop has seams, apply a color-matched epoxy to fill them in for a smooth, continuous surface. Wipe away any excess immediately for a clean finish.
Finishing Touches
After installation, allow the adhesive to cure for the recommended time before using the countertop. Apply a sealant to protect the marble from stains and scratches. Regular maintenance, including resealing, will keep your marble looking pristine for years to come.
By tackling this DIY project, you not only enhance your home’s aesthetic appeal but also gain valuable skills. With careful planning and attention to detail, installing your own marble countertops can be a fulfilling and successful endeavor.